Chequered Coffee Tables
My client had a nest of tables that she wanted painted in chequered black and white. I knew there was going to be a lot of layers of paint and masking tape involved but I took on the job as I like a challenge as well to learn new techniques.
This was a style of furniture painting I had never made before. But I thought, “How hard can it be?” It wasn’t particularly hard, just very time consuming…
I chose water-based matt paint in black and white. I also needed an undercoat, plus a matt varnish to go on top. Ronseal Diamond Hard Varnish came recommended to me.
After two layers of undercoat and having to wait each layer to dry, I finally got the first layer of white paint on all the three tables. Then I had to watch more paint dry…
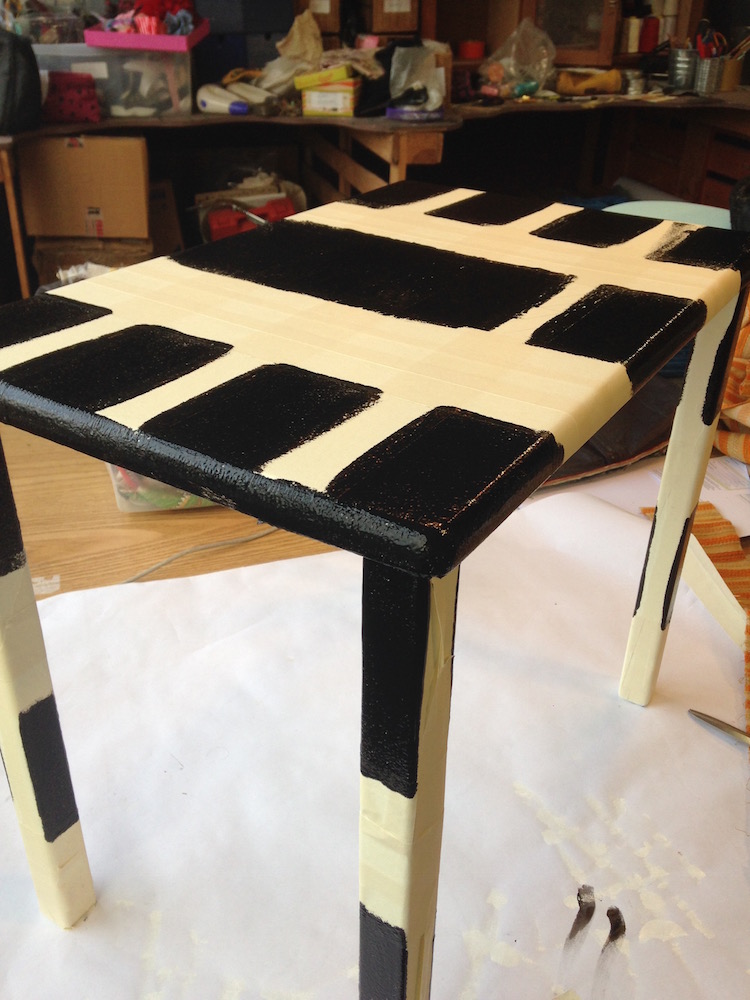
Now it was the task of measuring out the lines and using masking tape, followed by two coats of black paint. “This is going to well!” I thought, until i peeled off the masking tape and realised the black paint had bled under the tape. Aggghhhhhrr!! I do some research and find a type of masking tape called Frog Tape. I head down to B&Q and grab a roll.
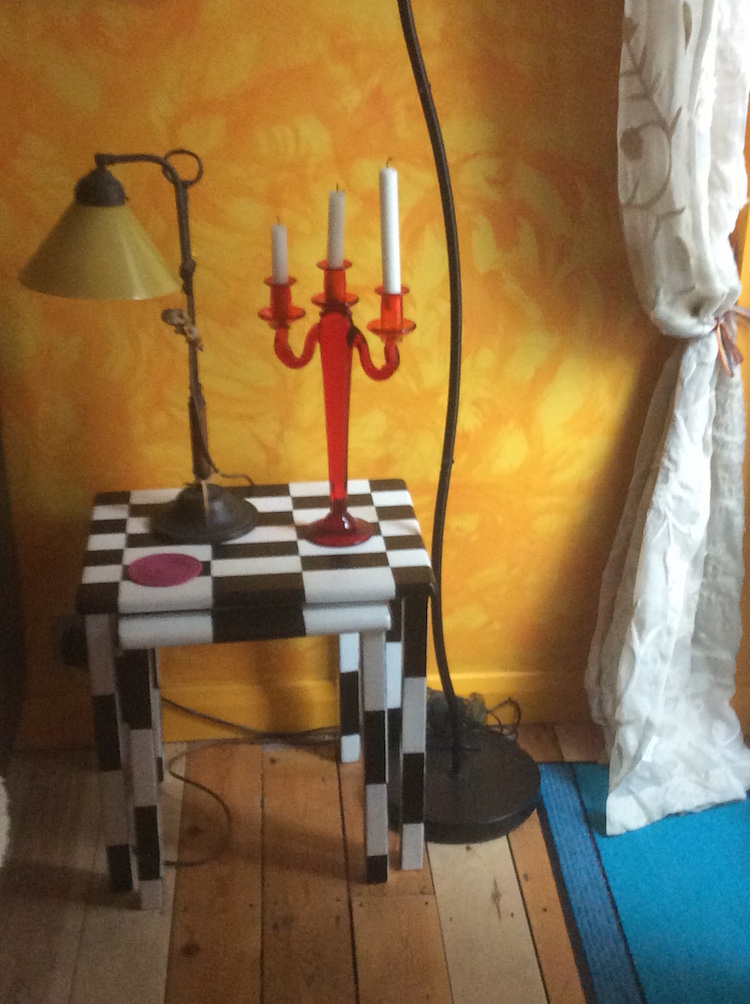
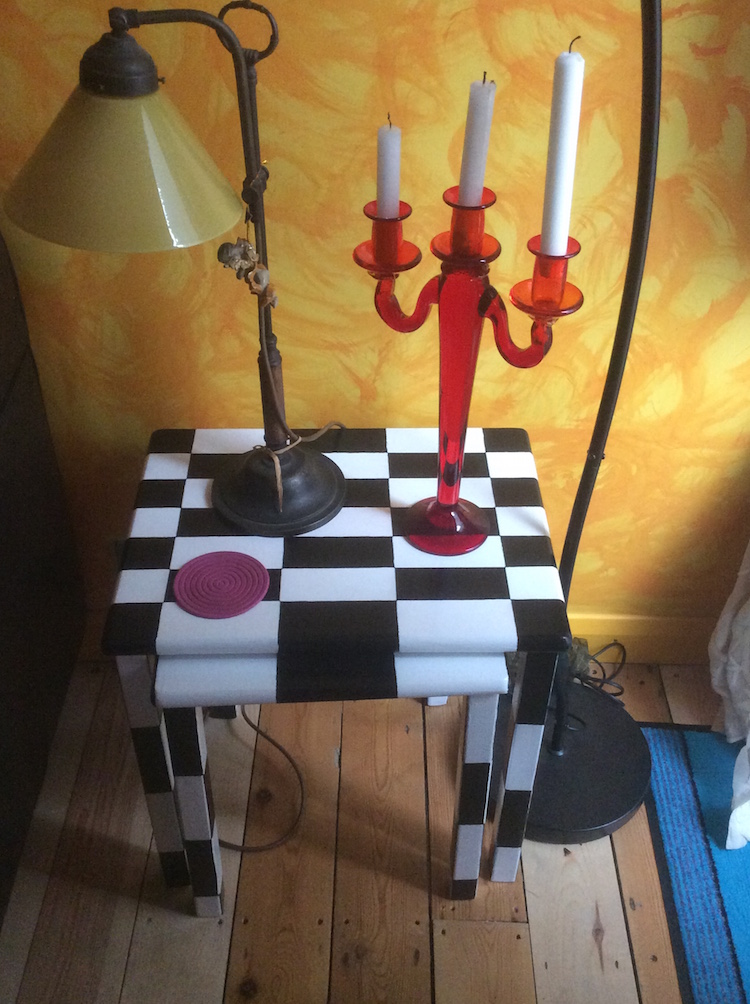
Masking all the lines take two.Paint with white, wait to dry… Peel tape off. Guess what? It does exactly what it says on the tin. No bleed!! Yes! Oh if had known this before it would have cut my workload by half! With all the waiting for paint to dry, correcting mistakes and 3 layers of varnish, it took a week to complete. Luckily Breeda loved them. Phew! And here they are in her home looking very Alice in Wonderlandish.
Would I take on another commission like it? Yes, now I know what I am doing, but with an increase in the price 😉